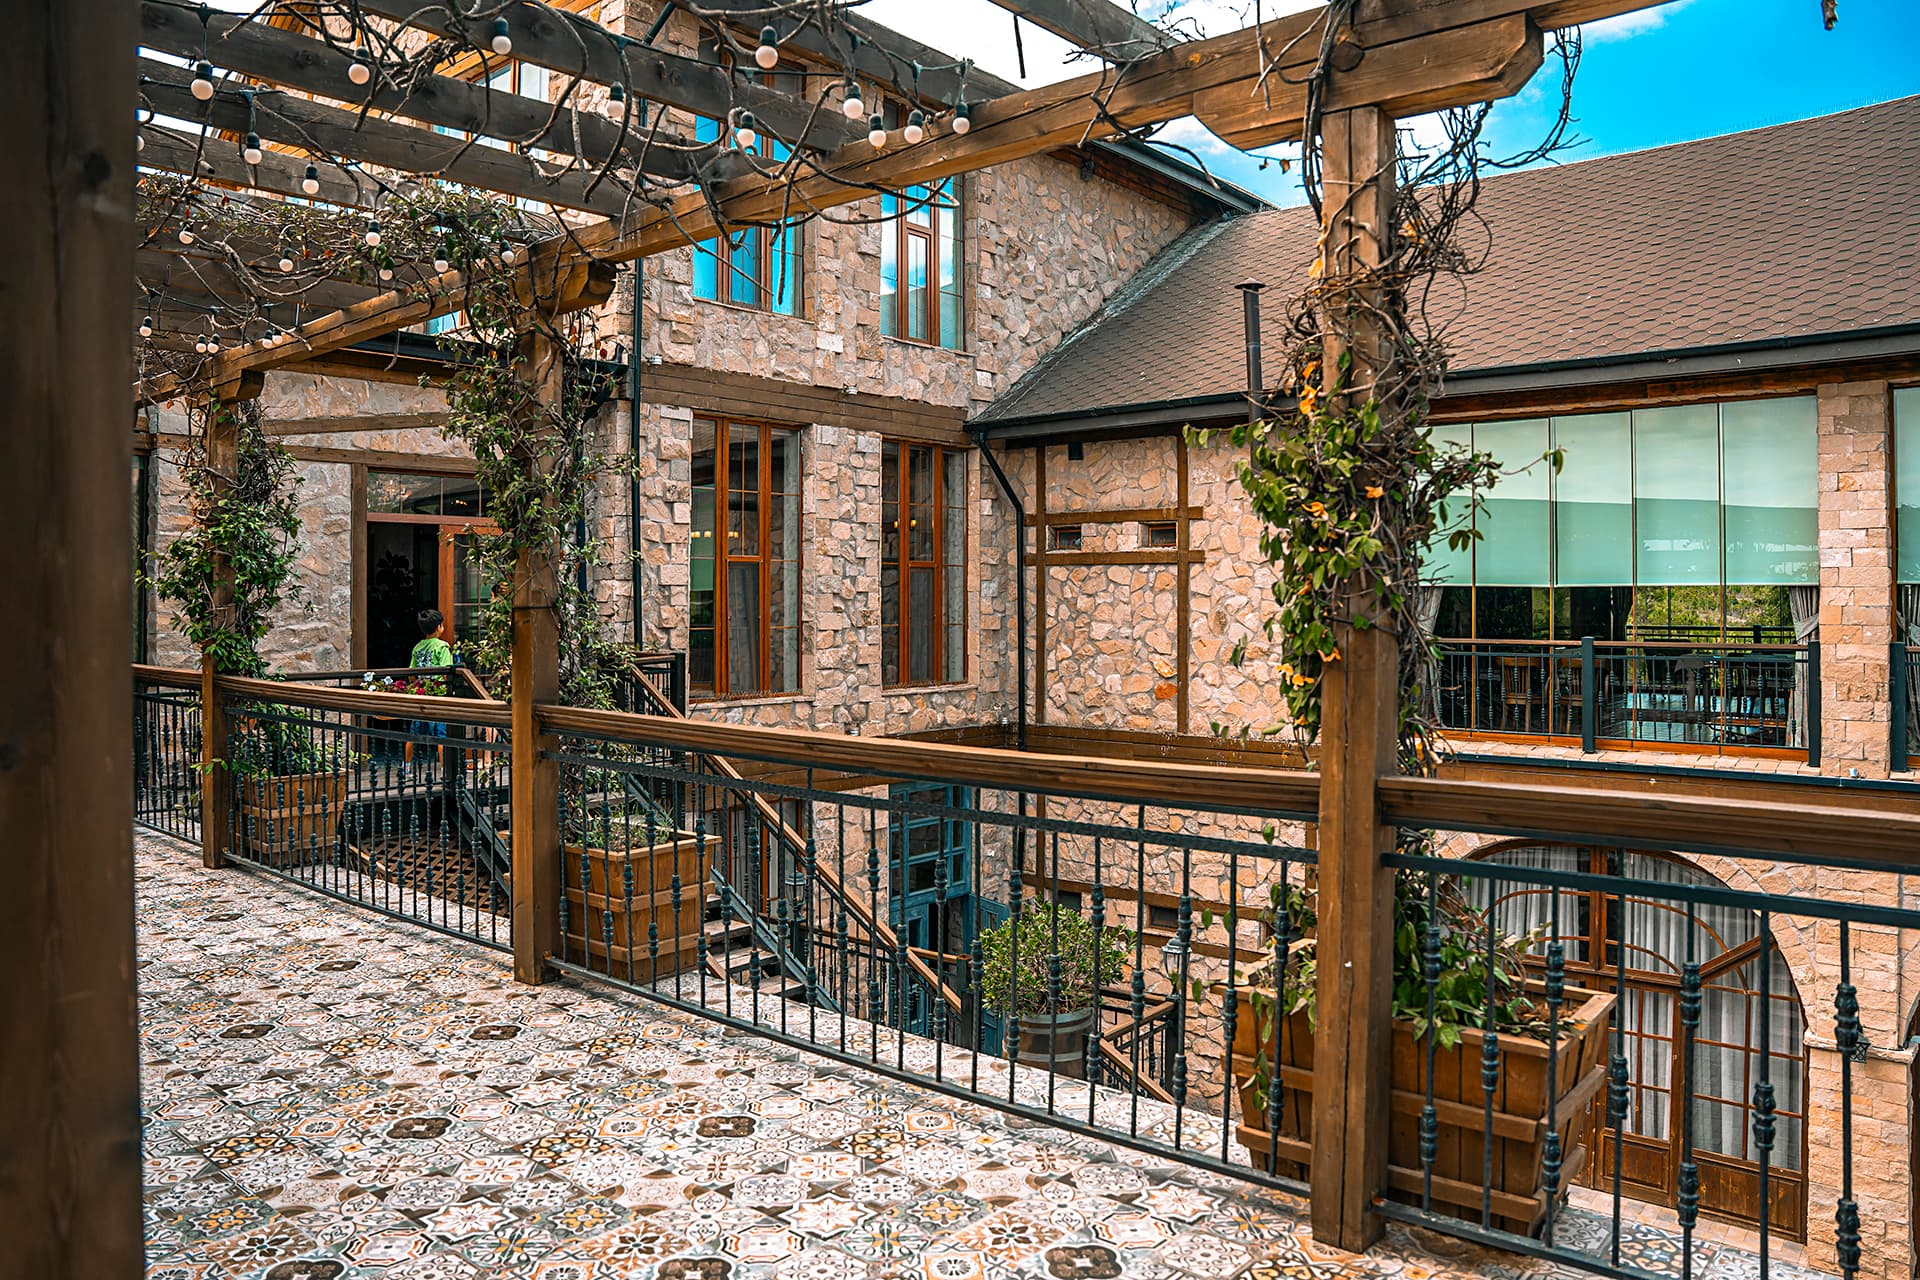
Professional interior photography requires more than technical camera skills—it demands meticulous preparation. The difference between good and exceptional architectural images often comes down to the hours spent preparing a space before the first shutter click.
The Pre-Shoot Walkthrough
Every shoot begins with a comprehensive walkthrough, ideally days before the actual photography session. We assess lighting conditions at different times, identify the strongest architectural features, and note any issues that need addressing. This reconnaissance informs our shot list and equipment requirements.
During this walkthrough, we collaborate with interior designers, architects, or property managers to understand the space's intended narrative. Which features should be emphasized? What story does the space tell? This dialogue ensures our photography aligns with the project's goals and the client's vision.
Styling and Staging
Even the most beautifully designed space requires styling for photography. We remove or relocate items that create visual clutter—charging cables, TV remotes, personal items, excess decorative objects. The goal is to show the space's design integrity without the distractions of daily life.
In residential projects, we often work with professional stylists to add carefully selected accessories—art books, fresh flowers, elegant tableware—that suggest lifestyle without dominating the space. In commercial projects, we ensure brand elements are visible but not overwhelming, and that the space appears welcoming yet aspirational.
Furniture arrangement is critical. We adjust chairs, straighten cushions, and position objects to create visual balance within the frame. Even small adjustments—angling a chair slightly toward the camera, aligning books on a shelf—make significant differences in the final image.
Technical Preparation
Clean windows are essential—smudges and water spots become glaringly obvious in architectural photography. We clean all glass surfaces, mirrors, and polished materials. Floors are swept or vacuumed. Countertops are cleared and wiped down. Wrinkles are steamed from curtains and upholstery.
We adjust existing lighting—turning on all decorative fixtures, positioning task lamps, and ensuring all bulbs are working and color-matched. In evening shots, the warm glow of interior lighting creates ambiance, but mismatched color temperatures can ruin an image. We sometimes replace bulbs to ensure consistency.
Finally, we assess and adjust window treatments based on the lighting conditions and desired mood. Open blinds can flood a space with natural light, creating an airy feel. Closed curtains with interior lighting create intimacy and warmth. These decisions dramatically affect the final image.
The preparation phase often takes longer than the actual photography. But this investment is essential. A well-prepared space allows us to focus on capturing its best angles and qualities rather than managing distractions. The result is photography that honors the design, satisfies the client, and effectively communicates the space's character and quality.